


A pool table can be the centerpiece of a game room, but moving one is nothing like relocating ordinary furniture. With heavy slate components, precision leveling requirements, and fragile felt surfaces, improper handling may result in expensive damage or serious injury.
Moving a pool table on your own could result in injury or damage to the pool table, especially if you don’t know how to do so. Instead, consider hiring a professional moving team that has the experience to safely and effectively move your pool table into your new space. We’ve outlined the six steps to take for a successful pool table move.
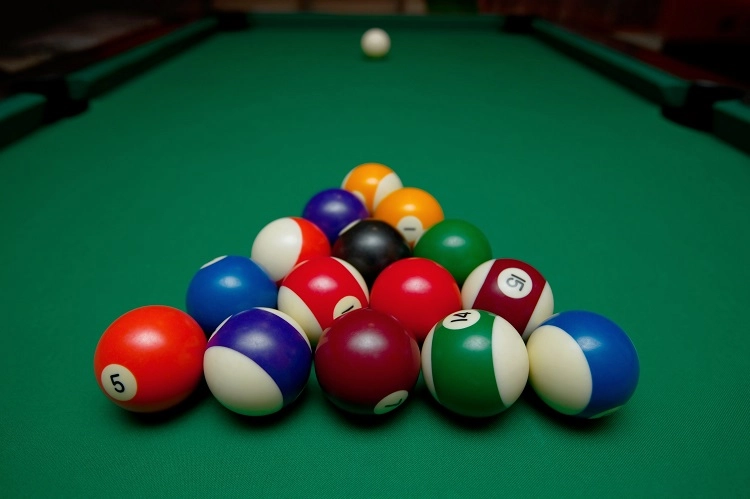
Supplies and Tools for Moving a Pool Table

Before any disassembly begins, you’ll need to gather the right tools to set the tone for a smoother move. Pool tables rely on tight tolerances, and missing equipment often leads to improvised fixes that cause damage.
A basic toolkit should include:
- Measuring tape
- Power drill
- Dollies or moving carts
- Flathead screwdriver
- Level
- Cutting tools such as snips
- Socket wrench
- Staple remover or puller
- Bubble wrap or moving blankets to protect the pool table
Use packing tape to secure the bubble wrap or moving blankets in place during transit, preventing slippage and ensuring the coverings stay tightly wrapped. Once you have the above tools, you’ll be ready to continue with moving a pool table.
A Practical Guide to Moving a Pool Table Step by Step
The most effective way to move a pool table is to break the process into clear stages. Each step builds on the one before it, so skipping ahead or changing the order often creates problems later.
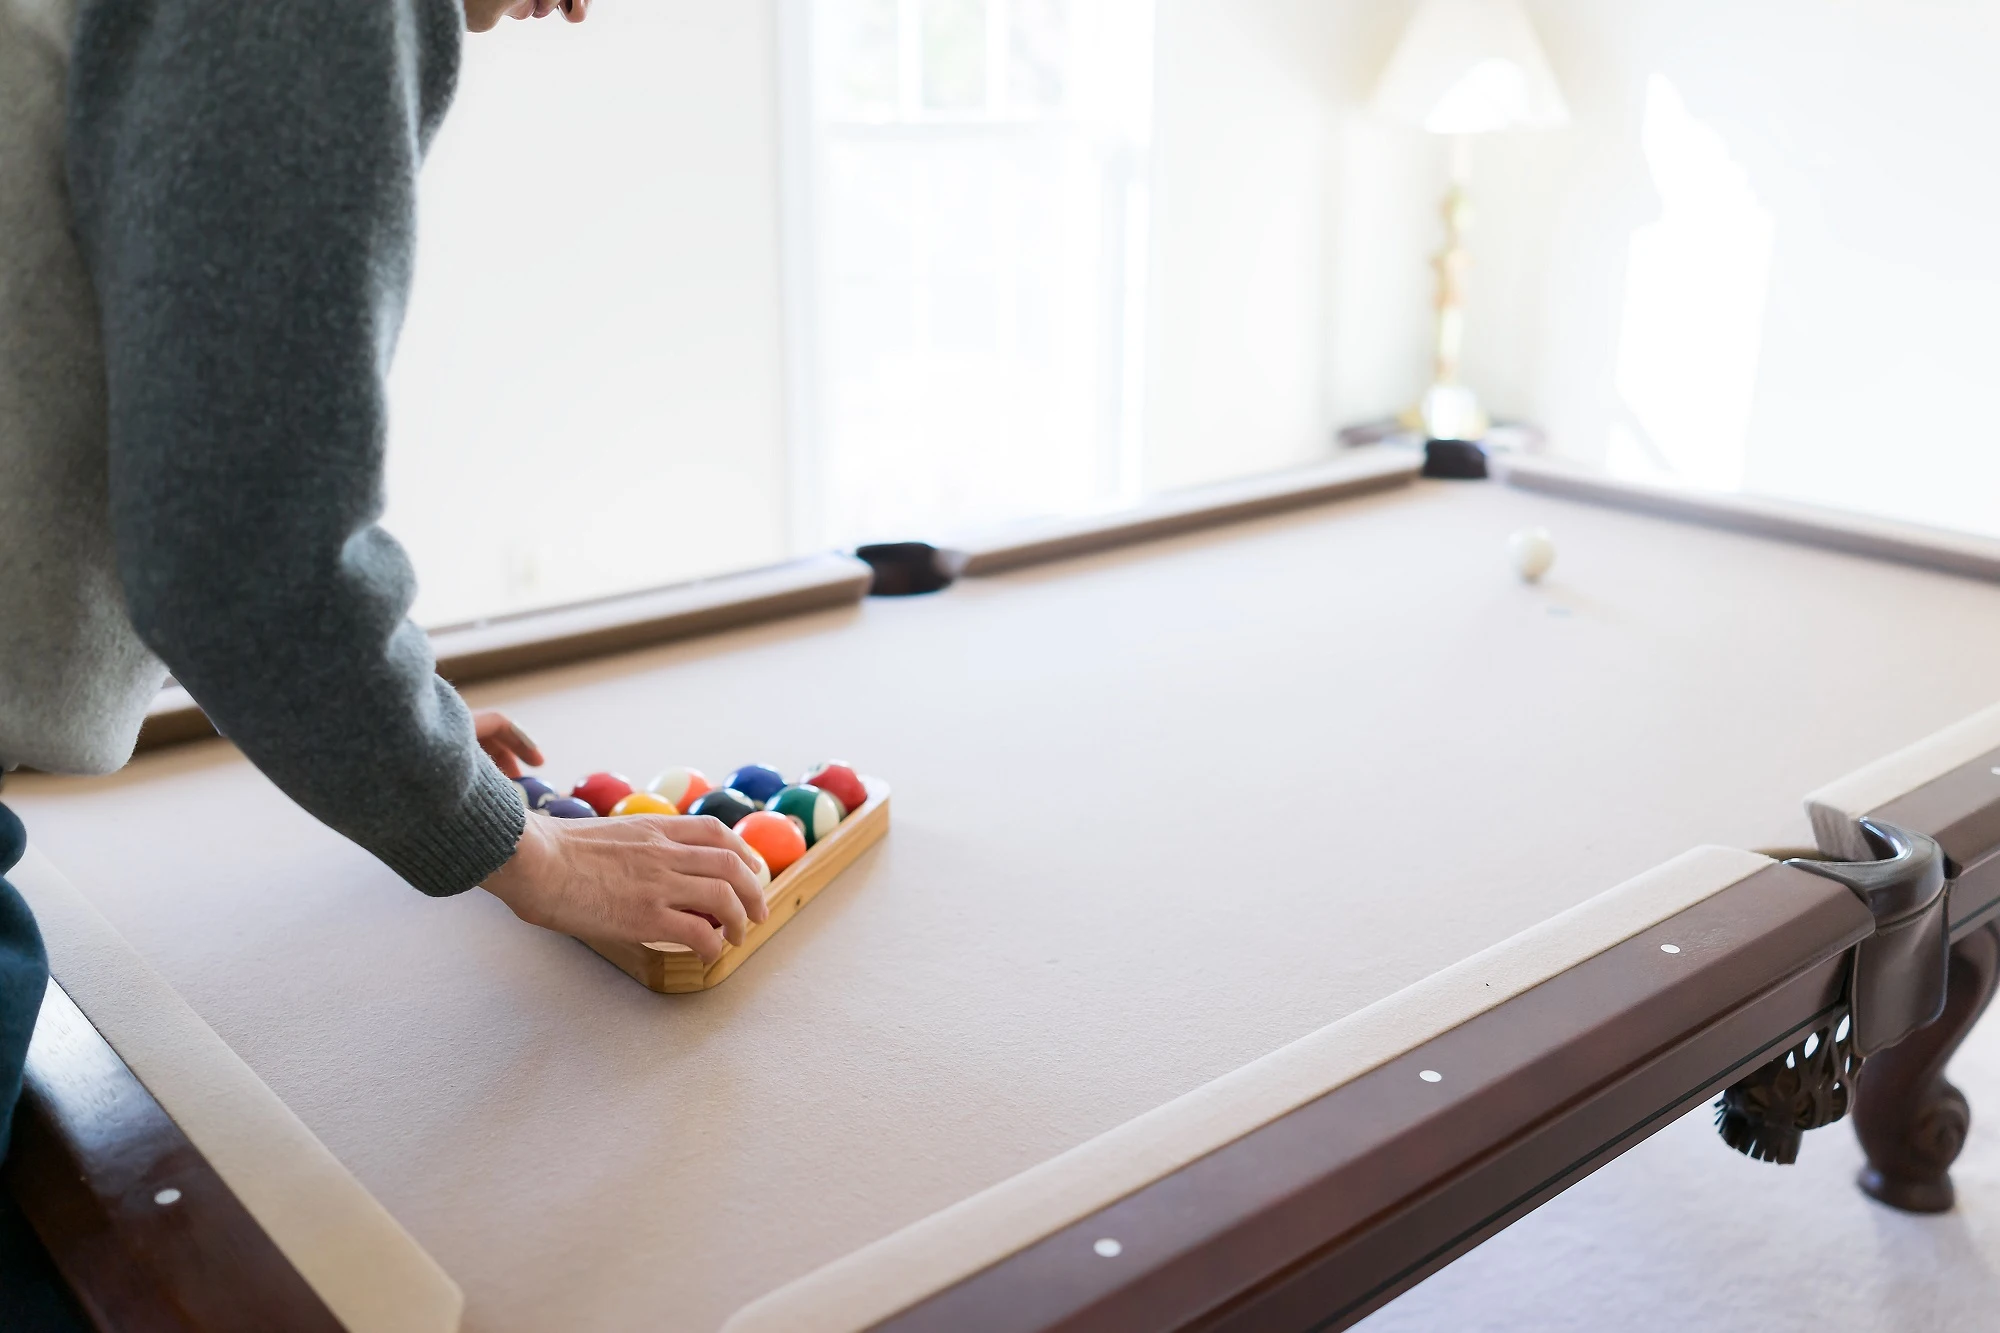
1. Decide if the Table Is Worth Moving
Not every pool table move makes sense. Before committing time and effort, take a moment to weigh the table’s value against the challenges ahead.
Limited use, tight layouts, or difficult access points can make selling the table locally a smarter option. If the table is staying with you, confirm that the destination room supports the table’s size and weight. Take your time during this part to make a clear decision, as it can help you prevent wasted work and frustration later.
2. Measure Every Exit, Turn, and Final Placement Area
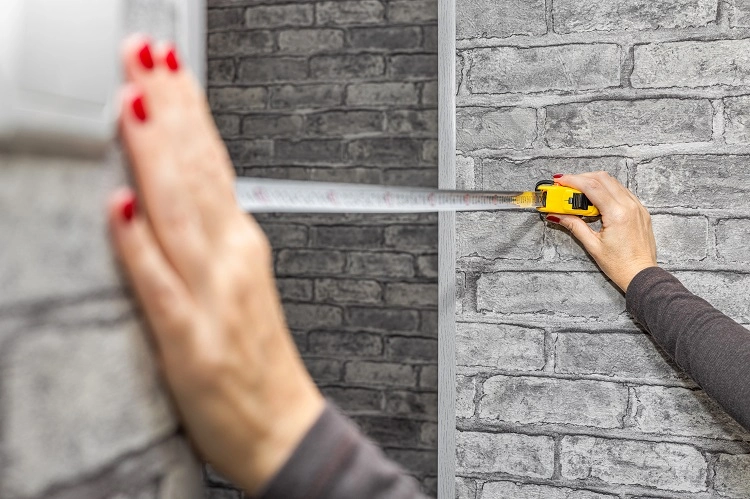
Measurements shape the entire move. Most failed pool table relocations stall when the slate reaches a narrow doorway or stairwell.
Check door frames, hallways, staircases, elevators, and ceiling height along the exit path. Repeat the process in the new space, including cue clearance around the table. Knowing these limits ahead of time removes guesswork and keeps the move predictable.
3. Take the Table Apart in a Logical Order
Once you have taken the measurements, you can start taking apart the pool table. Disassembly reduces weight and protects fragile components during transport. Full relocations almost always require taking the table apart.
Here are some parts that you will need to disassemble:
- Rails
- Ball pockets
- Felt
- Slate sections
- Legs
Always turn to the manufacturer’s instructions for disassembly to avoid causing damage to the pool table. Be careful during disassembly; it saves time later and keeps parts intact.
4. Handle Slate and Structural Parts with Extra Care
This is the most delicate phase of the move. Ball pockets usually detach from the underside with staples or screws, followed by rail bolts secured to the frame. A socket wrench and staple puller allow controlled removal without damaging hardware or finishes. Once the rails are off, you can lift the felt carefully back to expose the slate.
Slate sections require multiple people and steady handling. Each piece should be lifted straight up and placed upright against padded surfaces, rather than laid flat or stacked. After the slate is removed, support the frame before detaching the legs one at a time. Don’t rush during this stage; a little bit of extra care goes a long way in protecting the heaviest and most expensive parts of the table.
5. Prepare and Pack Pool Table Parts
Transport damage often happens inside the truck, not during lifting. When the pool table is packed properly, it limits movement and surface contact.
Wrap slate, rails, and legs in thick furniture blankets. Place pockets, bolts, and accessories in labeled bags or boxes. Smaller items should travel separately to avoid scratching finished surfaces. Securing everything tightly keeps parts from shifting during transit. Professional movers can also help you with packing and protection to reduce handling risks during transport.
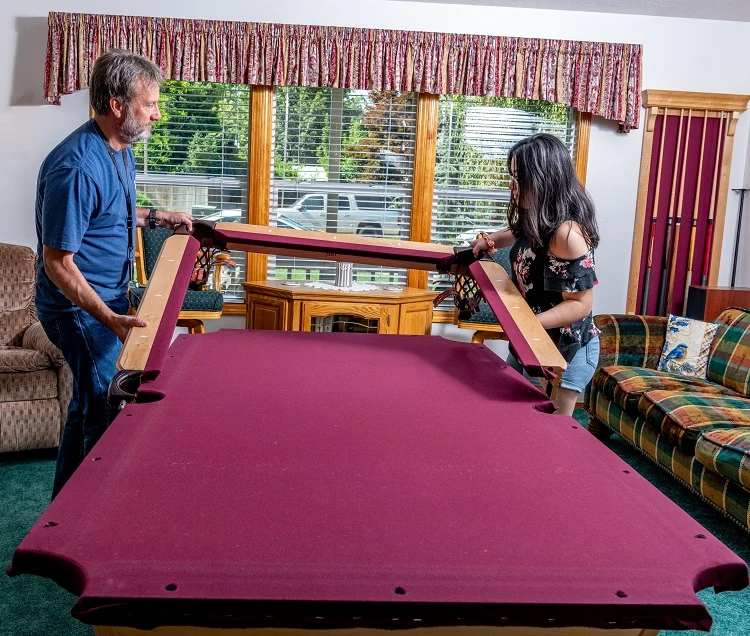
6. Reassemble and Level the Pool Table
Reassembly brings the move full circle, but this stage also requires precision. How the table is rebuilt directly affects how it plays.
After positioning the frame, install, level, and secure the slate sections. Felt is stretched evenly before rails and pockets are reattached. Since floors are rarely perfectly flat, small adjustments help restore smooth, consistent ball movement.
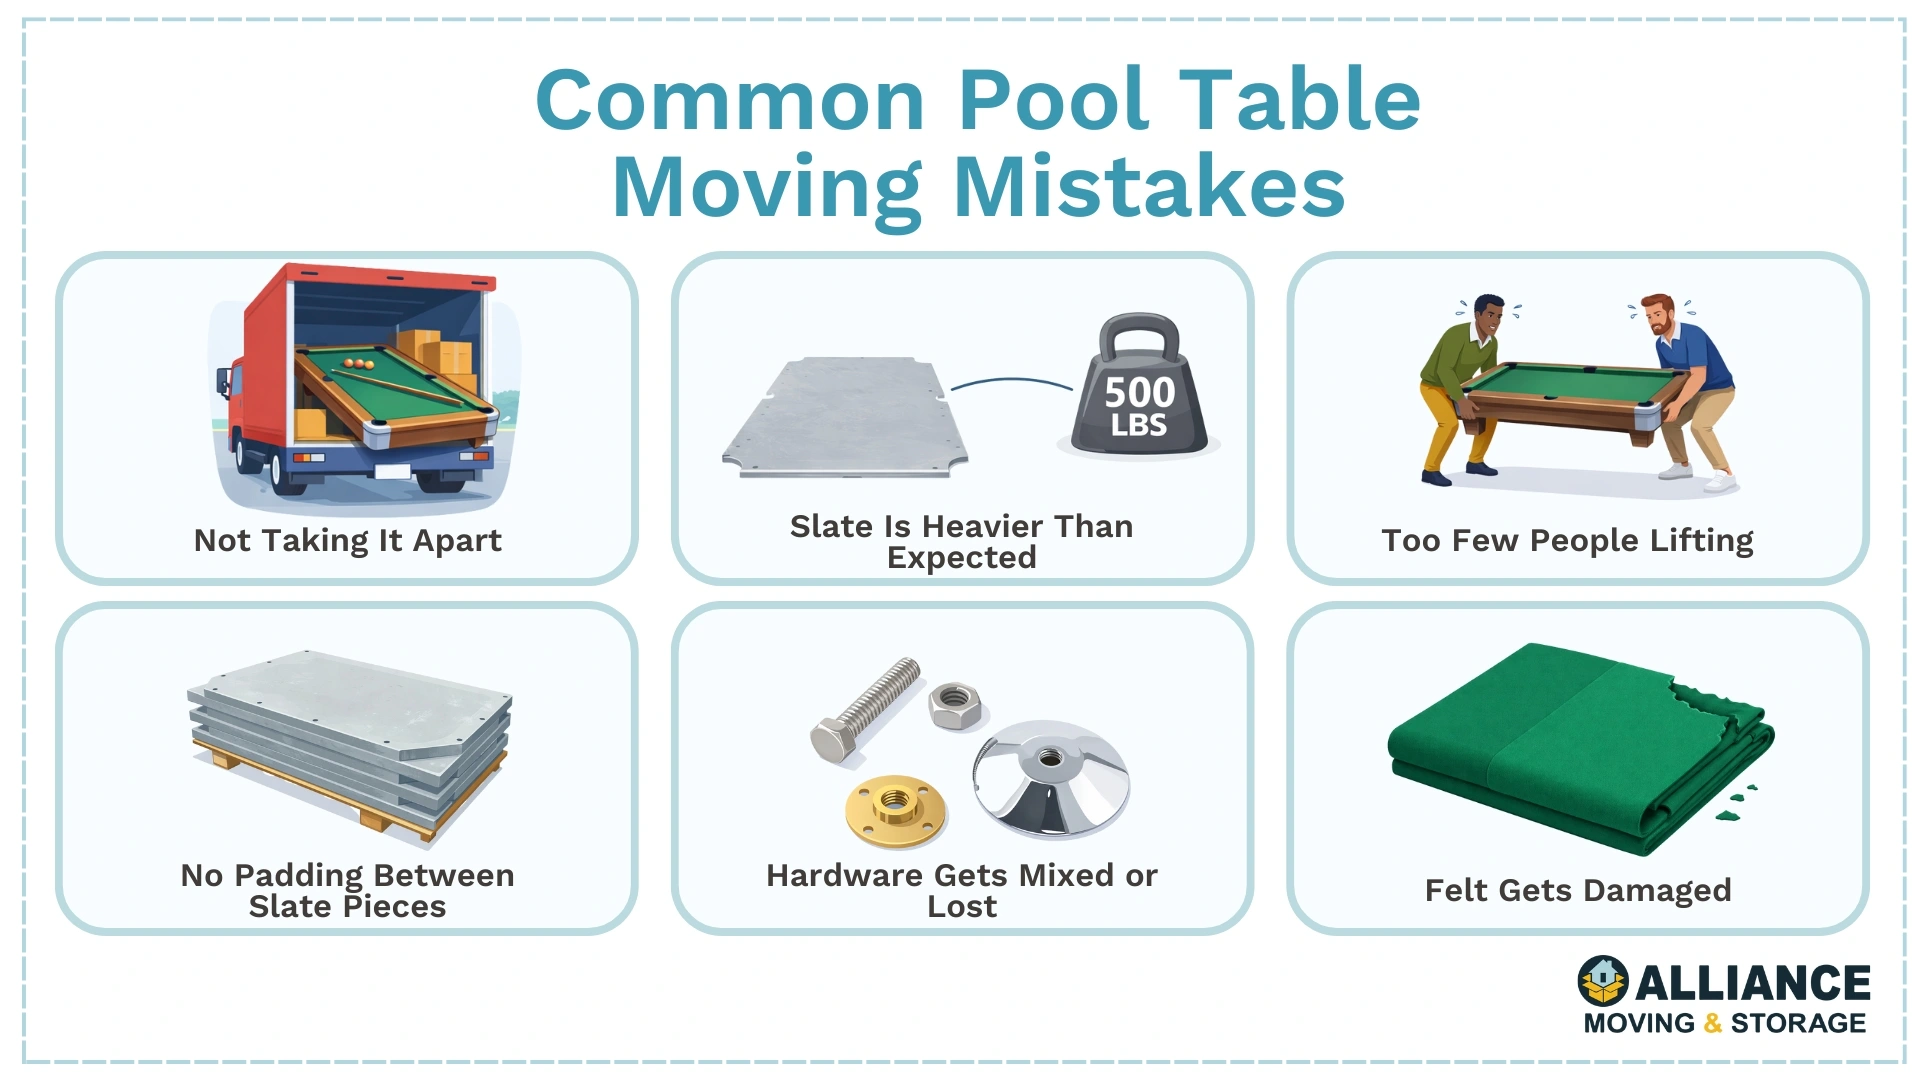
Costly Mistakes People Make When Moving a Pool Table
Most damage doesn’t come from sudden accidents. It comes from small decisions that seem harmless at the time. Pool table moves fail most often due to shortcuts taken early in the process.
Frequent mistakes include:
- Skipping disassembly to save time.
- Underestimating the weight of slate sections.
- Relying on too few people for lifting.
- Stacking slate flat without padding.
- Failing to label bolts and hardware.
- Pulling felt too aggressively during removal.
Each of these errors increases the chance of misalignment, surface damage, or missing parts during reassembly.
How to Reduce Risk During a Pool Table Move
A safer move starts with preparation and steady pacing. Extra hands should be lined up before lifting begins, and every step should follow a clear order instead of improvisation.
You can minimize risk when:
- Moving blankets protect slate and finished wood.
- Communication stays clear during lifts and turns.
- Tight spaces are cleared in advance.
- Rest points are planned before stairs or corners.
In times of uncertainty, don’t be afraid to stop the process to prevent damage. Forced adjustments tend to create bigger problems than brief delays.
Pay closer attention during:
- Slate removal and handling
- Stair navigation and tight turns
- Final placement and leveling
All it takes is small adjustments at these stages to affect both play quality and long-term stability. Treating these moments carefully protects the table and the people moving it.
Why Moving Heavy Items on Your Own Can Go Wrong
At first glance, moving a pool table can feel similar to handling other bulky furniture. Unfortunately, that assumption usually leads to trouble. Pool tables combine extreme weight, uneven balance, and fragile components, which raises the risk level quickly.
Common problems tend to fall into three categories:
- Physical strain from uneven lifting and awkward angles.
- Loss of control on stairs, turns, or narrow exits.
- Surface damage caused by dropped slate or shifting weight.
Slate creates additional hazards. One slip can crack the stone, damage flooring, or injure someone nearby. The earlier you recognize these risks, the easier it is to set realistic expectations and encourage safer decisions before the move begins.
Making the Right Call for a Safe Pool Table Move
Moving a pool table is one of the most specialized household relocation tasks. Professional movers with pool table experience reduce risk by handling heavy slate, ensuring precise alignment, and safely managing transport logistics.
At Alliance Moving & Storage, our team has experience relocating pool tables across Chicago and the surrounding areas with care and precision. From disassembly through reinstallation, we ensure every component arrives protected and ready for play. If you’d like a quote or want help planning your move, contact our team to discuss your pool table moving needs


.jpg)